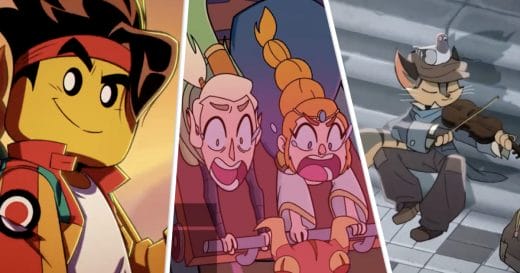
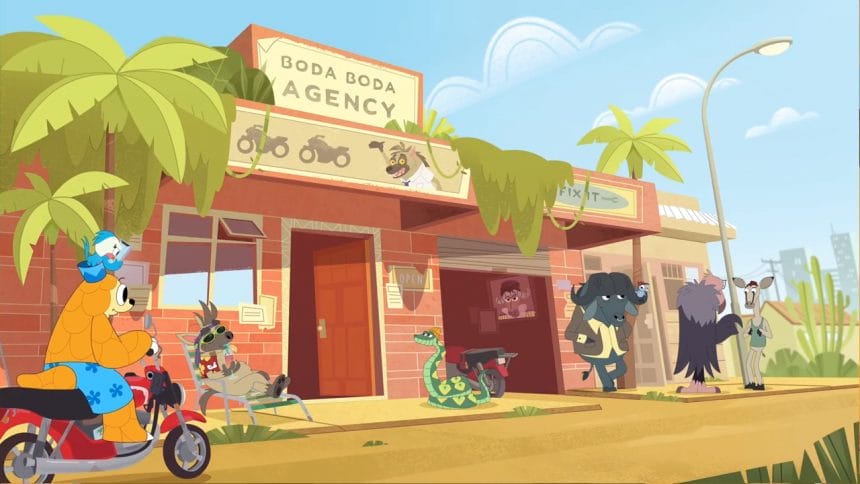
The Animation Showcase is the new streaming service made exclusively for the animation industry. This dedicated platform shows work from studios big and small, from industry giants to up-and-coming independents. Participating film-makers can expect an engaged audience of animators, artists and studios, as well as directors and producers from the motion picture and creative industries. The Animation Showcase is the brainchild of Benoit Berthe Siward, who hopes that his... Read more »
How to do Voice-Overs on a Budget: Eight Key Tips

Tags: Animation Harmony How To Tips and Tricks
In Part Two of our three-part series on "How to Create Audio for Your Animation," we will cover how to do voice-overs on a budget. Learn what it takes to record a quality voiceover, with minimum gear and maximum results.
1. Match Your Voice to the Character
Reading through the script aloud gives you insight on the type of voice required to complement your character. As you read the script aloud, make note of any words or phrases that are difficult to say or sound awkward. Then, if possible, revise the script with words that are easier to pronounce.
2. Use Storyboard Pro during PreProduction
During this process, we recommend recording a scratch track, which is a rough draft of a soundtrack made during the storyboarding process in preproduction. The scratch track can be synced withthe animatic of Storyboard Pro. This will help you know if your voice is a good fit for the character.
During playback, listen carefully. Does your voice sound convincing? Are you able to match the gender, age, accent and character? If you find it difficult to achieve the complexity of the character with your own voice, independent voice actors and agencies can be found online.
For the rest of this article, we will provide steps on what you need to do to achieve a good result when recording your voiceover.
3. Select Your Mic Carefully
It's possible to create great sound quality with USB microphones, without spending a fortune. Some USB mics can capture studioquality recordings with voiceovers, music and sound effects.
4. Record in a Controlled Environment
Always record in an area without room noise. Unwanted sounds that can ruin a vocal performance include: air conditioners, fans, traffic noises from open windows and the hum from fluorescent lighting or your computer fan. You can dampen the sound of a room by hanging blankets along the walls.
5. Add a Windscreen to your Microphone
Preventing popping P sounds during a voiceover is crucial. To understand what causes popping sounds, place your hand in front of your mouth and say "pick" or "pop." The air hitting your hand is the same burst of air that will hit the microphone and cause a popping sound.
Placing a windscreen over a microphone will help prevent external noises from being recorded. The windscreen becomes a filter that blocks out unwanted noises. Some people use clean wool socks, even though windscreens are affordable and more efficient.
6. Monitor Your Mix
Monitor with headphones while you record. Headphones help you monitor your performance levels and any distortion that may occur during the recording.
7. Take Care of Yourself and Your Voice
Get a good night's sleep the day before you record. Fatigue can contribute to thin-sounding and raspy vocals that are difficult to control.
Warm up your vocal chords while getting into character and reading your script aloud. Keep a warm glass of lemon water with honey close by. The lemon will cut through unwanted phlegm, and honey is soothing during long sessions.
If possible, record the entire voiceover on the same day to ensure a consistent sound. Your voice may sound different the next day depending on moisture and pollen levels in the air and your physical condition.
8. Watch Your Levels
Improper levels can wreak havoc on a recording. Levels set too high result in pops and crackles referred to as "clipping." Low levels can capture unwanted background noise.
To prevent clipping, set the mic's input signal between 12db and 6db. During vocal warm up, push the signal until it clips in the red, and then pull back the input volume about 6db. This helps prevent clipping during a performance.
In Part Three of this series, we will focus on "How to Let an Animation Script be Your Guide for Sound and Effects".